Monthly Archives: March 2014

Iced Bunny Biscuits

Bunny Biscuits

Hop to it...these bunny biscuits are so easy to make!

Hop to it…these bunny biscuits are so easy to make!


These are so cute and so easy! Make them for a party, cake stall, Easter or just for fun! The kids can easily do this themselves!

You will need:
Oval shaped biscuits (I use arrowroots)
Icing (see step one below)
White Marshmallows (cut in half)
Pink mini marshmallows (cut in half)
Choc chips (or other round Lollies)
Licorice wheels, sour straps or other long confectionary (cut into small strips)
White Tic Tacs

Here are the ingredients I use..but use whatever you like!

Here are the ingredients I use..but use whatever you like!

Instructions:

Note: make one at a time or the icing will set hard!

1. Mix a basic icing. It needs to be slightly firm but spreadable. If it is too runny the sweets won’t stick. I use a cup of icing sugar and slowly add a small amount of water.

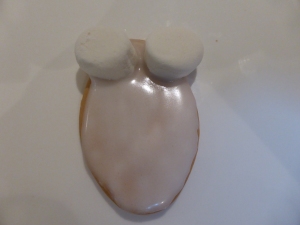
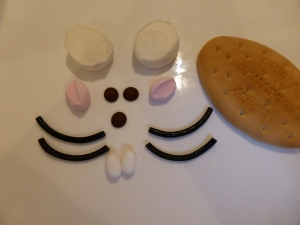
2. Spread some icing onto a biscuit and quickly place 2 white marshmallows at the top of the oval biscuit. (Ears!)

Place the marshmallow 'ears' on the top of the biscuit

Place the marshmallow ‘ears’ on the top of the biscuit

3. Place a pink mini Marshmallow on the white marshmallow. You can put the cut side down and it will stick, if not use a small amount of icing to ‘glue’ them on.

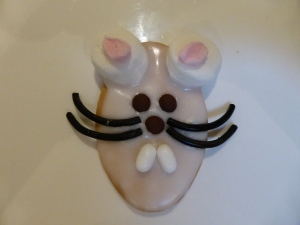
4. Add on the choc chips for ‘eyes’ and a ‘nose’.

complete your bunny face any way you like!

complete your bunny face any way you like!

5. Place the licorice or sourstrap strips beside the nose for ‘whiskers’.

My kids prefer sourstrap whiskers!

My kids prefer sourstrap whiskers!

6. Place 2 Tic Tacs for teeth at the bottom! (Optional!)

These can be made the day before. Keep them in an air tight container at room temperature. The icing will set hard. I am sure you can make something even cuter than these! Please let me know your suggestions!

Have fun! If you check out my Yibba Yabba Mama Facebook page you will see I love icing biscuits! No baking but so cute and loved by all kids!

Apricot Coconut and Honey Weetbix Slice

Apricot Coconut and Honey Weetbix Slice

Apricot Coconut and Honey Weetbix Slice

Apricot Coconut and Honey Weetbix Slice

Here is another super yummy lunch box recipe! It is lower in fat than most slice recipes and no added sugar…it is sweetened with honey and apricots! (I do use sugar in the icing though!) It is a winner in our house, yours too I hope!

Ingredients:
3 Tablespoons melted butter
3 tablespoons honey
4 crushed weetbix (or 1 cup of leftover crumbs!)
2/3 cup desiccated coconut
1 cup plain flour
1 cup chopped dried apricots
1 egg (beaten)

Method:
1. Preheat your oven to 180C

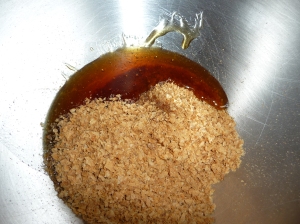
2. Combine melted butter, honey and weetbix. Mix well.

mix melted butter, honey and crushed weetbix

mix melted butter, honey and crushed weetbix

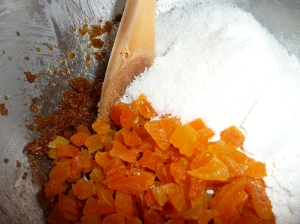
3. Add in flour, coconut and apricots. Mix well.

Add in all the dry ingredients, including apricots

Add in all the dry ingredients, including apricots

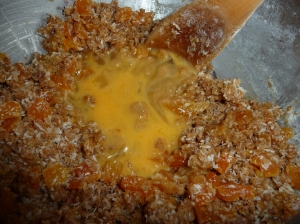
4. Mix in the beaten egg until well combined.

mix in one beaten egg

mix in one beaten egg

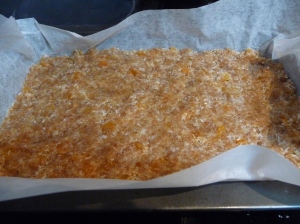
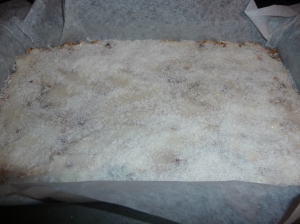
5. Using your fingers, press the mixture into a paper lined slice pan. I use a 28cm x 18cm slice pan (approx!) I make sure extra paper hangs over the sides to make it easy to remove!

Press into a rectangle slice pan

Press into a rectangle slice pan

6. Bake for 15 minutes or so. (Don’t over bake or it will be too dry! It will be soft when you take it out of the oven, but will harden as it cools)

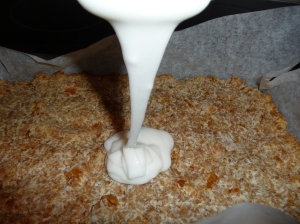
7. Allow it to cool for 5 mins. Then pour on some icing. Use plain icing, vanilla or lemon. (1 cup icing sugar with some water/milk/juice will be fine for a simple icing)

Lovely with a little icing!

Lovely with a little icing!

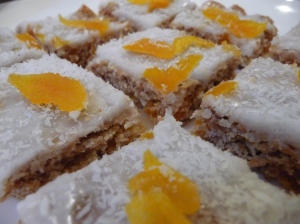
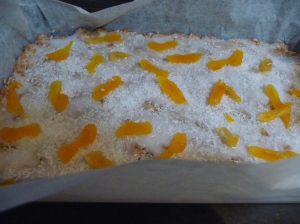
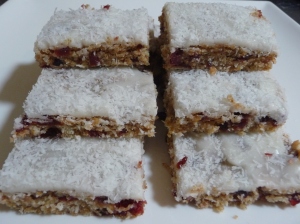
8. I like to top my slice with 1/4 cup extra coconut and 2 finely sliced dried apricots. Sometimes I use a Passionfruit icing….yummy! Allow the slice to cool completely then slice into squares or rectangles.

Topped with more coconut and sliced apricots

Topped with more coconut and sliced apricots

This slice is perfect for after school, in the lunch box or whenever! It freezes well too!

Cranberry and White Chocolate Biscuits

Cranberry and White Chocolate Biscuits

Cranberry and White Chocolate Biscuits...yummy!

Cranberry and White Chocolate Biscuits…yummy!

We love these biscuits in our house! There is something so yummy about the combination of white chocolate and cranberry….yummy! I often bake these for cake stalls or make them as gifts. This recipe is reduced in sugar but still tastes great! The cranberries add their own sweetness and a chewy texture.

There is chocolate in here too, if you would rather make these healthier (for the lunch box or other reasons) then substitute with desiccated coconut! (See hints below!)

Ingredients:
125g soft butter
1/2 cup caster sugar
1 teaspoon vanilla essence
1 egg
2 cups Self Raising Flour
1/2 cup white chocolate chips or melts (substitute with desiccated coconut if you prefer)
3/4 cup dried cranberries

Method:
1. Preheat oven to 170 C

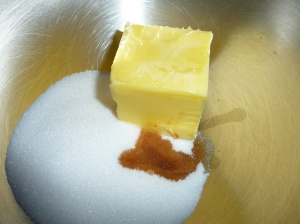
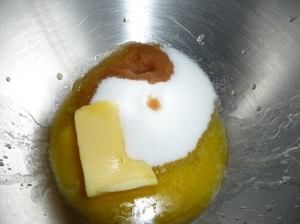
2. In a mixer or with an electric mixer beat the butter, sugar and vanilla

Beat butter, sugar and vanilla until creamy

Beat butter, sugar and vanilla until creamy

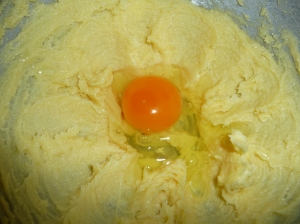
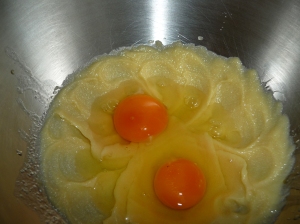
3. Beat in the egg

Beat in one egg

Beat in one egg

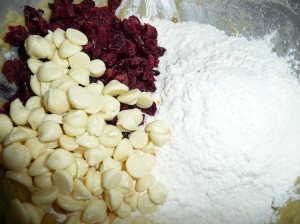
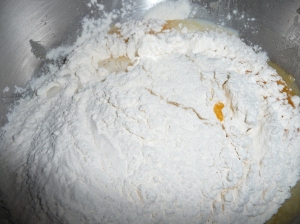
4. Gently mix in the flour, cranberries and white chocolate.

Gently mix in white choc, cranberries and flour

Gently mix in white choc, cranberries and flour

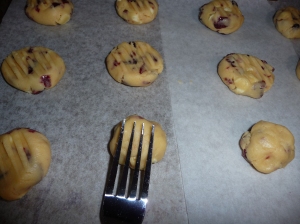
5. Make level tablespoon sized balls of mixture and place onto a lined tray. (I use my measuring scoop and then a fork to flatten them) Allow a little room for them to rise. Makes approx 28 biscuits

Leave room for spreading!

Leave room for spreading!

6. Bake for 15 to 18 mins or until just starting to brown. Don’t over bake or they will be too dry.

Allow to cool on tray for 5 mins then cool on a wire rack

Allow to cool on tray for 5 mins then cool on a wire rack

These freeze very well!

Hints:
If you want to make Cranberry Coconut biscuits:
Substitute choc for 1/2 cup desiccated coconut. Use less flour, 1 and 1/2 cups will ensure the biscuits are not too dry.

My kids prefer the cranberries chopped up roughly! I guess it spreads them out too!

Blueberry Muffins

Blueberry Muffins

Light and full of blueberries!

Light and full of blueberries!

My recipe is lower in fat and sugar and full of blueberries! Just perfect for the lunch box, after school or when guests pop in! Here is my freezer friendly recipe:

Ingredients:
90g softened butter or dairy free spread
1/2 cup caster sugar
1 teaspoon vanilla essence
2 eggs
2 cups self raising flour (try wholemeal flour or even half white/wholemeal)
3/4 cup milk (soy, almond, rice or other will be fine)
1 cup frozen blueberries. (Or fresh!)

Method:

1. Preheat oven to 180C

2. Using an electric beater or mixer beat butter, sugar and vanilla.

Mix in softened butter, sugar and vanilla

Mix in softened butter, sugar and vanilla

3.Beat in the eggs.

Add in the eggs

Add in the eggs

4. Lightly fold in the flour and milk, don’t over mix.

Carefully fold in the flour

Carefully fold in the flour

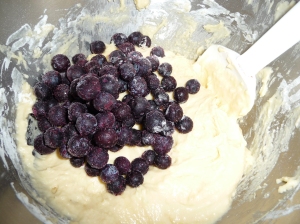
5. Add the blueberries and gently stir.

Add in fresh or frozen blueberries

Add in fresh or frozen blueberries

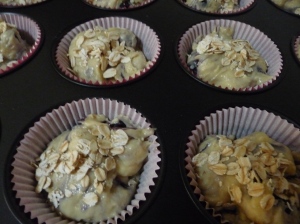
6. Divide mixture between 12 muffin wrappers. (You can also add on a sprinkle of rolled oats now or even a sprinkle of brown sugar if you like)

Makes 12 muffins

Makes 12 muffins

Try adding in some rolled oats.... oaty goodness!

Try adding in some rolled oats…. oaty goodness!

7. Bake for approximately 25 mins.

These will freeze beautifully!

Freezer friendly!

Freezer friendly!

These muffins are delicious just as they are. If you prefer a sweeter muffin, add more sugar or try using brown sugar. Here are a few more ideas for you to try:

More ideas:
Try using raspberries or any other fresh or frozen berries
Add in one grated apple for a more moist muffin
Sprinkle 1/2 cup rolled oats on top of the muffins before you bake
Sprinkle 1/4 cup brown sugar on top of he muffins before you bake
Add in 1/2 white choc bits for something special
Serve with a dollop of cream cheese icing or dust with icing sugar just before serving

These can also be made into patty sized muffins or even mini muffins. You will need to bake these for less time, about 18 mins or so.

Cranberry Weetbix Slice

Cranberry Weetbix Slice

Yummy!

Yummy!

Here’s another weetbix slice that is perfect for lunch boxes! It has been a hit in our house this week, hopefully it will be in yours too! This is not a sweet slice, the icing makes it sweeter for the kids to enjoy it. You can add more sugar if you prefer it. Much healthier than regular slices, lower in fat and lower in sugar…you and the kids will love this one!

Ingredients:
4 finely crushed weetbix or vitabrits (use your processor or bash them in a zip lock bag with a rolling pin!)
3 tablespoons of melted butter (or margarine or dairy free spread)
1 cup plain flour (wholemeal flour works great too!)
1/2 cup desiccated coconut
1/4 cup sugar (caster, raw or brown!)
1 cup dried cranberries/craisins (I chop them up roughly to spread them out)
1/3 cup water
1 teaspoon vanilla essence (OR if you prefer a lemon taste… 1 tablespoon of lemon juice. You can also add 1 tablespoon of lemon zest or to your preferred taste!)

Method:
1. Preheat your oven to 180C

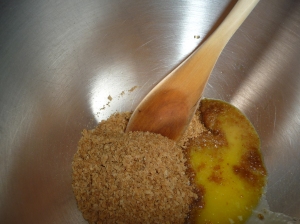
2. Add melted butter and vanilla essence to the crushed weetbix and stir well. (If you are using lemon juice and zest add it now)

Mix melted butter with crushed weetbix

Mix melted butter with crushed weetbix

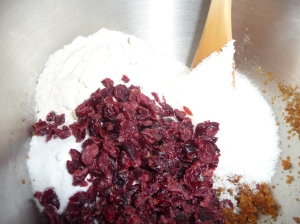
3. Mix in the flour, coconut, sugar and cranberries. Stir well to combine all ingredients.

Mix in the remaining dry ingredients, including cranberries

Mix in the remaining dry ingredients, including cranberries

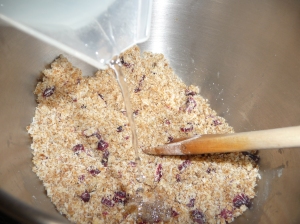
4. Slowly pour in the water and mix well.

Pour in the water and mix

Pour in the water and mix

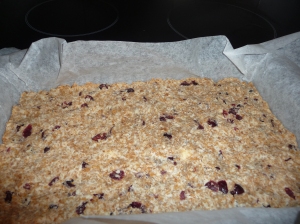
5. Firmly press the mixture into a paper lined slice pan. (I use a 18cm x 28cm approx sized pan and allow the paper to hang over the edge to make it easier to lift out!)

Press in using your hands and bake!

Press in using your hands and bake!

6. Bake for 15 mins for a soft chewy slice or about 18 mins for a harder crunchier slice. It will come out soft but will harden as it cools!

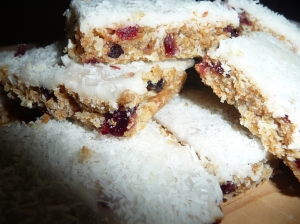
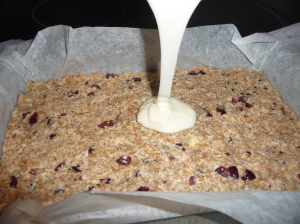
7. Stand for 5 mins. While still hot pour on icing (I like to use Lemon icing, recipe below) and sprinkle with extra desiccated coconut. Allow to cool completely in the tin. (You can spread the icing on the whole slice or drizzle half the quantity with a spoon for less icing.)

Lemon icing tastes great in this slice

Lemon icing tastes great in this slice

sprinkle with more coconut!

sprinkle with more coconut!

8. When cool slice into squares and serve. This slice freezes well!

Yummy!

Yummy!

Here are some variations:
Instead of icing, add in half a cup of white chocolate chips or drizzle melted white chocolate on top!
Apricot and coconut slice: substitute the cranberries with chopped dried apricots.
Apple and sultana: substitute the cranberries with Finley chopped apples and sultanas.
Don’t forget my chocolate weetbix slice! You can find the recipe here: http://wp.me/p3wks7-16
(To make this healthier try using coconut oil instead of butter, honey instead of sugar and use wholemeal flour.)

*Lemon Icing Recipe: (mine is a basic one, use your preferred one!)
Combine 1 cup icing sugar, 1 tablespoon melted butter, 1 tablespoon of lemon juice and stir well. You may need extra lemon juice, water or milk to mix it to a thick pouring consistency. You can add some zest on top of the coconut too!